
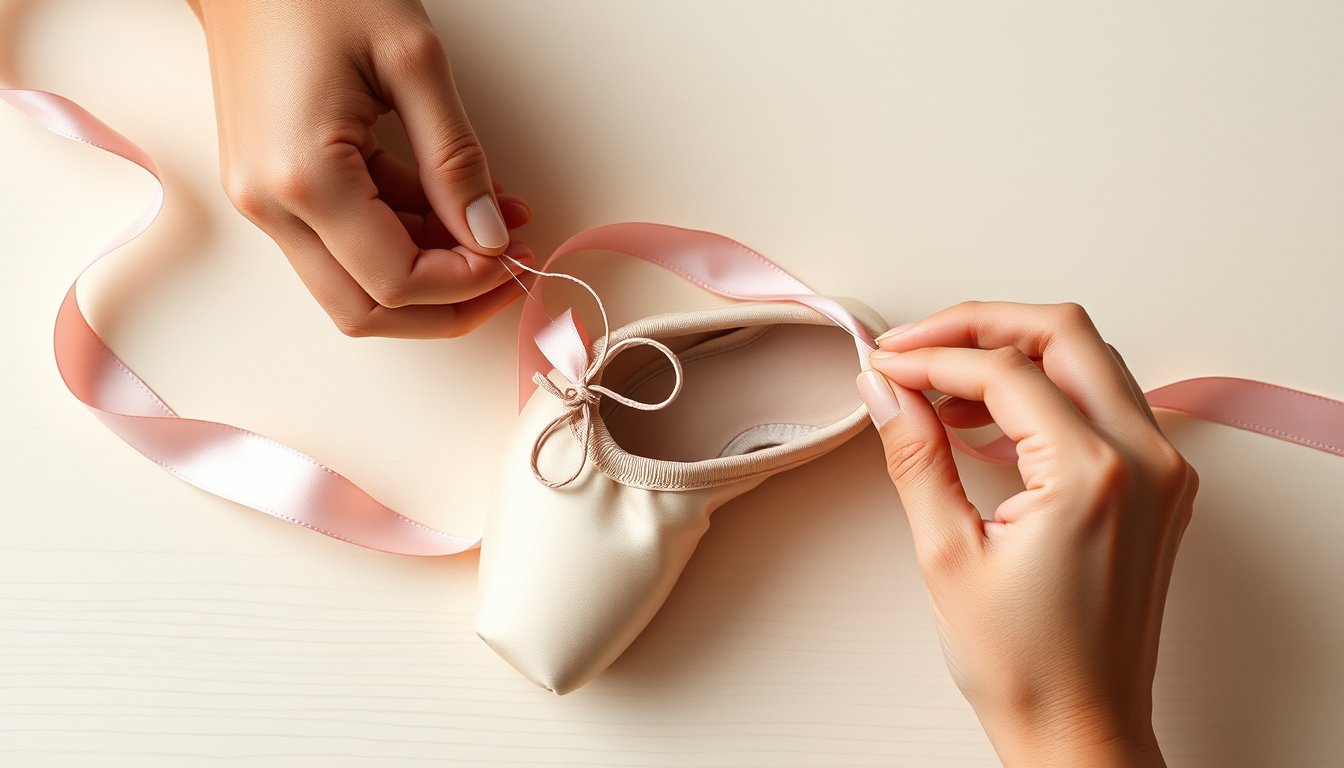
Sewing ribbons and elastics onto pointe shoes is one of the first practical skills a student learns when they start pointe work. It is not complicated, but the position of the ribbon and elastic matters — done correctly, they hold the shoe firmly on the foot and look neat. Done incorrectly, they can cause discomfort or come loose mid-class.
What You Need
- 2 lengths of ribbon (approximately 60-70 cm / 24-28 inches each, cut from a 2.5 m reel)
- 2 pieces of elastic (approximately 15-20 cm / 6-8 inches each)
- A needle and strong thread in a colour matching the ribbon and shoe satin
- Scissors
- A lighter or candle (to seal the cut ends of ribbon so they do not fray)
Where to Position the Ribbons
Fold the heel of the shoe forward toward the toe. The fold creates a natural crease just above the drawstring channel. The ribbon should be sewn on either side of the heel, at the point where the crease meets the side of the shoe — approximately 1-2 cm in front of the heel seam.
This position ensures the ribbon crosses the ankle in the right place when the shoe is on — not too far forward (which causes the ribbon to pull the front of the shoe down) and not too far back (which causes the ribbon to press into the Achilles tendon).
How to Sew the Ribbons
- Cut ribbon to length. Seal the cut ends by passing them quickly through a flame — the satin melts slightly and stops fraying. Do this before sewing.
- Fold one end of the ribbon under by about 1 cm to create a tidy starting edge.
- Place the folded end at the marked position on the inside of the shoe (the lining side, not the satin exterior).
- Sew a rectangle of stitches through the ribbon fold and into the lining fabric only — do not sew through to the outside satin. Use a backstitch for strength.
- Repeat for the remaining three ribbon ends (two ribbons, each with one end attached to either side of each shoe).
Where to Position the Elastic
The elastic sits across the back of the ankle, just above the heel counter of the shoe. It prevents the heel from slipping out when the dancer rises to demi-pointe or pointe. Sew one end of the elastic to the inside of the shoe, just behind where the ribbon is attached on one side, and the other end on the opposite side. The elastic should be firm but not tight enough to indent the skin.
How to Check the Tension
Before class, put the shoe on and tie the ribbons. The elastic should sit snugly across the back of the ankle with no gap, and the ribbons should cross the front of the ankle neatly when tied. If the elastic presses in uncomfortably or leaves a mark, it is too tight — take out the stitches on one end and resew with a little more slack.
Common Mistakes to Avoid
- Sewing through the satin exterior: The needle should go through the lining only — visible stitches on the outside of the shoe look untidy
- Placing the ribbon too far back: Ribbon too close to the heel seam will press into the Achilles tendon when tied
- Not sealing the ribbon ends: Unsecured ribbon ends fray very quickly with use and washing
- Using too little thread: Ribbons must withstand significant force during class — sew a large, dense rectangle of stitches, not just a few loops
For other pointe shoe questions, ask your teacher — they can check your sewing in person and advise on the exact position that works best for your foot shape. See also our ballet grades guide to understand where pointe work fits in the RAD syllabus.