
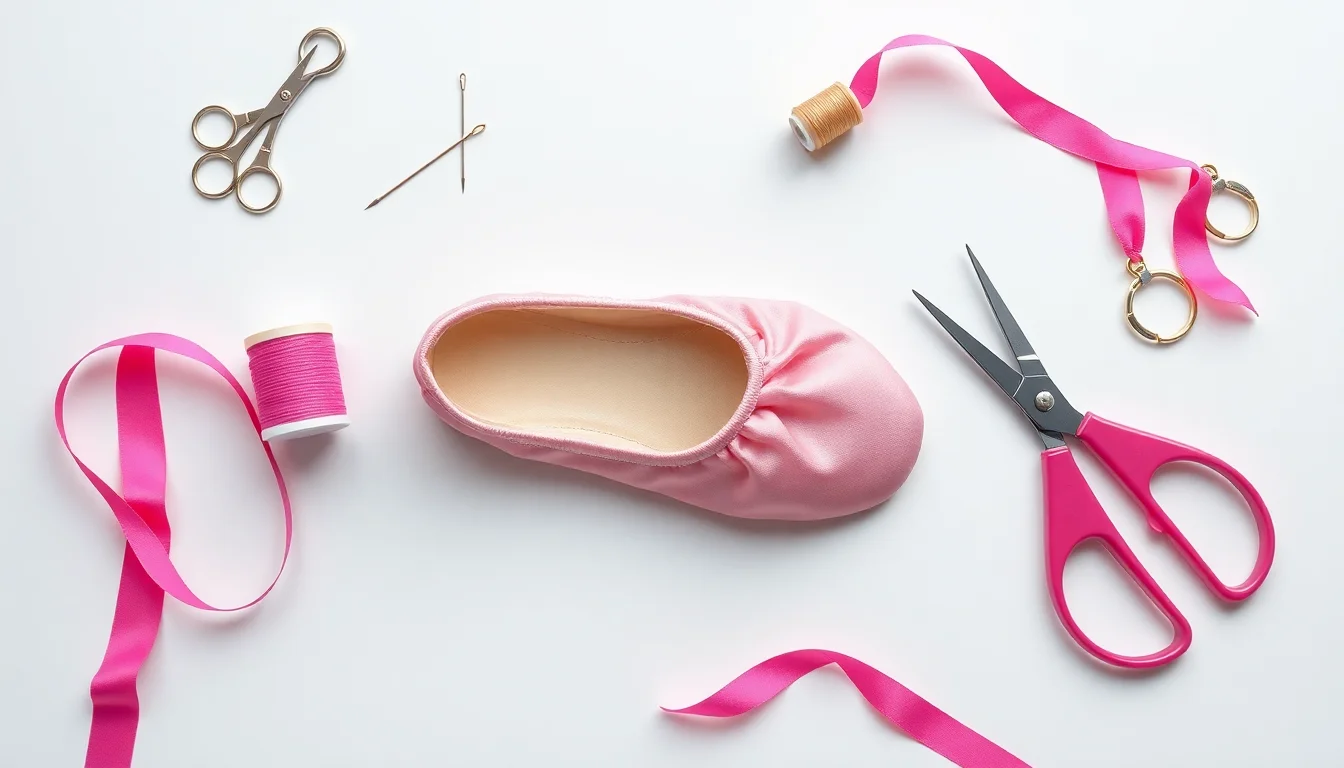
Short answer: Why Do Pointe Shoes Need Elastics? Pointe shoes come with ribbons for tying but most dancers also sew one or two elastics across the heel to keep the back of the shoe firmly against the foot when…
Why Do Pointe Shoes Need Elastics?
Pointe shoes come with ribbons for tying but most dancers also sew one or two elastics across the heel to keep the back of the shoe firmly against the foot when rising en pointe. Without an elastic, the heel can gap or pull away, making it unsafe and giving an untidy appearance. Your teacher will advise whether you need a single elastic or the cross-elastic method.
What You Will Need
- Your new pointe shoes
- Elastic approximately 1.5–2 cm wide (grosgrain ribbon elastic or standard dance elastic in matching colour — pink for pink shoes)
- A needle and strong thread matching the shoe colour
- Sharp scissors
- A lighter or nail varnish to seal the cut ends of the elastic and prevent fraying
How to Measure the Elastic
Put the shoe on your foot. Fold the heel of the shoe down to find the natural fold point — the place where the back of the shoe meets the heel when you flex the foot. The elastic will be sewn from one side of this fold to the other. Cut a piece of elastic long enough to span with approximately 1–2 cm overlap on each side for sewing — typically 18–22 cm, varying by foot size. The elastic should hold the heel snugly without digging in when you flex the foot fully.
Single Elastic Method: Step by Step
- Fold down the heel lining to find the fold point.
- Mark where the elastic will attach — approximately 1–2 cm from the back seam on each side.
- Seal the ends of the elastic with flame or nail varnish to prevent fraying.
- Thread the needle with a double strand of thread and knot the end.
- Sew one end of the elastic to the inside of the shoe at the first mark, using several strong stitches through the elastic and the canvas lining. Do not sew through the satin exterior.
- Stretch the elastic across the back of the shoe and sew the other end at the second mark with the same number of stitches.
- Knot securely and cut the thread.
- Replace the heel lining.
Cross Elastic Method
The cross elastic method uses two shorter pieces of elastic sewn at an angle to form an X across the Achilles tendon area, offering greater security for narrow heels or for students who find a single elastic slips. Follow the same basic method, attaching each piece diagonally so the two elastics cross in the centre above the heel.
Elastics vs Ribbons
Ribbons are the long satin ties that wrap around the ankle and tie at the front — separate from elastics. Elastics keep the heel of the shoe against the foot; ribbons support the ankle and finish the look. Most teachers recommend sewing both. See our guide on how to sew ribbons on pointe shoes for full ribbon instructions.
Shop from Zoe Dancewear
Frequently Asked Questions
Do you sew elastics or ribbons on pointe shoes?
Most dancers sew both. Ribbons wrap around the ankle and tie at the front. Elastics cross the back of the heel to stop the shoe gaping. Both are usually sewn before the shoes are worn in class.
Should the elastic be sewn inside or outside?
The elastic is sewn to the inside of the shoe through the canvas lining. Stitches must not go through the satin exterior. The elastic itself crosses the outside of the shoe over the back of the heel.
What colour elastic for pointe shoes?
Use elastic matching the colour of your shoes — pink for pink satin shoes. This maintains a professional appearance required by most schools and examination boards.
Can I buy pointe shoes with elastics already sewn on?
Some beginner shoes include a basic elastic, but most professional shoes are sold without ribbons or elastics. Students sew their own to ensure correct positioning and tension for their individual foot.