
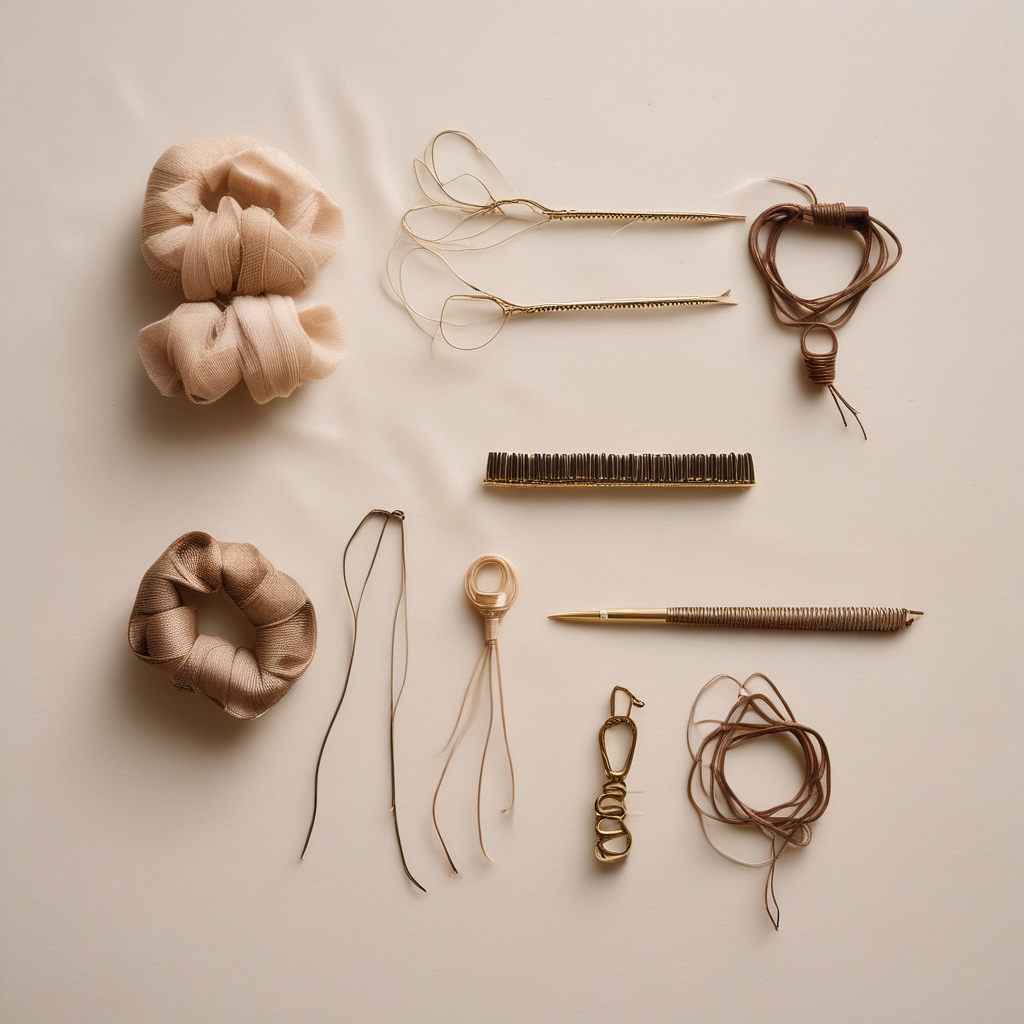
The ballet bun is one of those things that looks simple until you are standing behind a seven-year-old with five minutes before class and a pack of bobby pins that keep falling on the floor. With the right technique and the right tools, a secure bun takes about three minutes once you have practised it a few times.
What You Will Need
- Fine-toothed comb or tail comb
- Hair elastics — one for the ponytail, one for the bun
- Bobby pins (at least six, matching hair colour)
- Hair net (matching hair colour)
- Hairspray or hair gel for flyaways
The hair net is the single most important item for a tidy bun that lasts through a full class. Without it, even a well-constructed bun will loosen as the dancer moves.
Step 1: Smooth the Hair Back
Start with brushed, dry hair. Apply a small amount of hair gel to the hairline if there are flyaways along the sides. Use the tail comb to create a clean centre parting if required by the school.
Step 2: Create the Ponytail
Gather all the hair at the crown of the head. For most ballet schools the ponytail sits at the very top of the head — a high placement gives the finished bun a cleaner silhouette. Secure with a hair elastic.
Step 3: Divide and Twist
Divide the ponytail into two equal sections. Twist both sections in the same direction until the whole ponytail is twisted firmly from base to tip. Holding the twisted ponytail taut, wind it around its own base in a circle, keeping the coil flat against the head.
Step 4: Secure the Bun
Wrap a second hair elastic around the outside of the coiled bun to hold it in place. Push bobby pins through the edges of the bun, angling them inward and downward toward the scalp. Six to eight pins are usually sufficient for shoulder-length or longer hair.
Step 5: Add the Hair Net
Open the hair net and slip it over the entire bun. Stretch the net down around the edges and tuck any loose ends underneath. Secure the hair net with two or three extra bobby pins pushed through the net and into the bun. This final step holds stray hairs in place and gives the bun a smooth, finished appearance.
Step 6: Tidy the Edges
Apply hairspray lightly over the whole style, holding the can at arm’s length. Mist lightly — enough to tame flyaways without making the hair crunchy.
Troubleshooting
The bun keeps falling down: The ponytail base is too low or not secured firmly enough. Add more pins through the very bottom edge of the bun.
Flyaways will not stay down: Apply a small amount of gel directly to the flyaway before pinning. Hairspray alone is not always enough for fine hair.
The bun looks messy after class: More pins and a hair net. There is no shortcut for this one.