
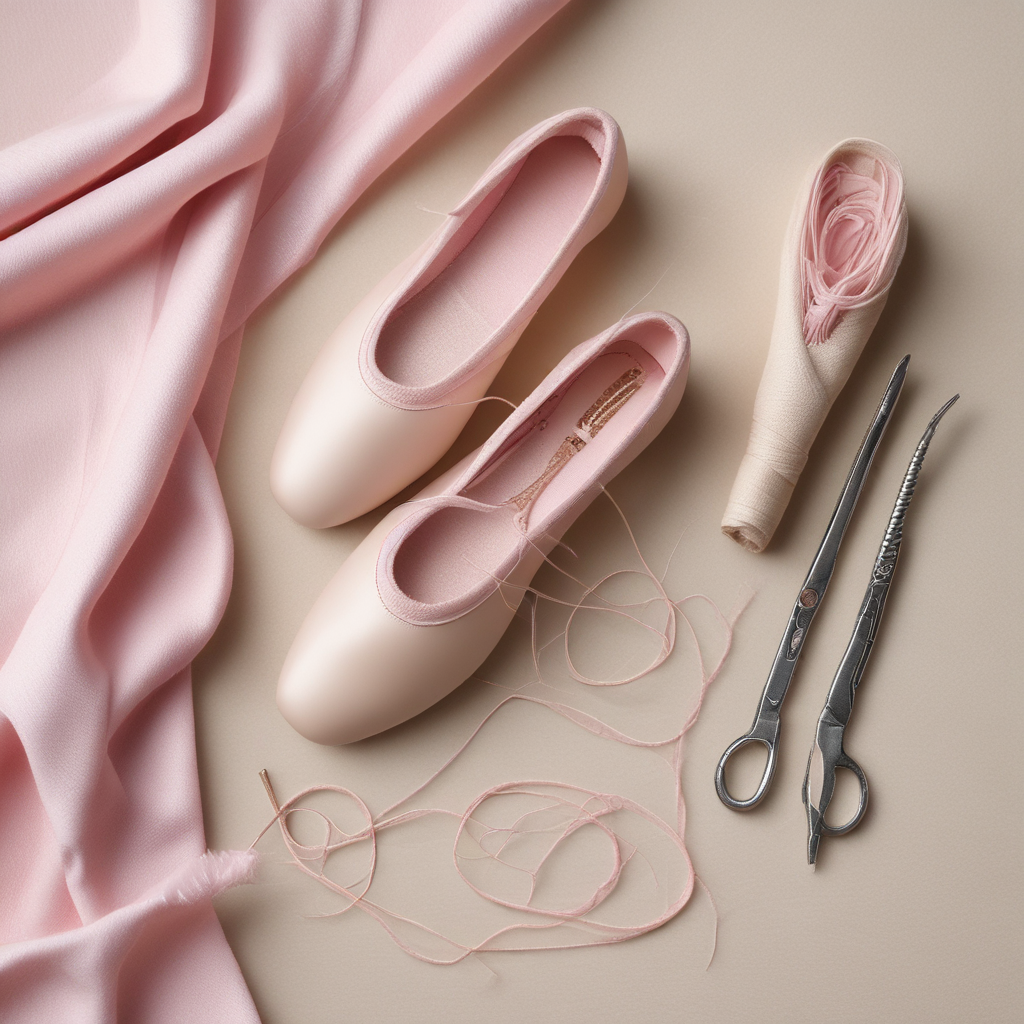
While ribbons are the most visible part of a pointe shoe’s securing system, many teachers also require a single elastic cross-strap at the back of the ankle for additional support. This elastic prevents the heel of the shoe from slipping down during relevé and arabesque.
What You Will Need
- Elastic — approximately 20 to 25 cm, 1.5 to 2 cm wide, in a colour matching the shoe
- Needle and strong thread (button thread or upholstery thread)
- Scissors and a lighter to seal the elastic ends
- Pins
Finding the Attachment Points
The attachment points sit at each side of the back seam of the shoe, approximately 2 cm forward from the heel seam. Put the shoe on the dancer’s foot and flex and point the foot several times. Observe where the back of the shoe sits relative to the ankle and mark the inside of the shoe where an elastic would naturally sit across the back of the heel without cutting in when the foot is pointed.
Sewing the Elastic
Fold approximately 1.5 cm of the elastic end back on itself and pin it to the inside lining of the shoe at the marked point. Sew through the folded end using firm, small running stitches forming a rectangle, then reinforce with an X through the centre. Sew through the canvas lining of the shoe, not the outer satin.
Attach the other end of the elastic to the opposite side of the heel, checking the length by holding the shoe on the dancer’s foot before sewing. The elastic should be taut enough to keep the heel firmly in contact with the Achilles tendon when the foot is flat, without restricting movement when the foot is fully pointed.
Checking the Result
Once both ends are sewn, have the dancer do several relevés in place. The heel of the shoe should remain firmly in contact with the foot throughout. If the heel lifts even slightly on the rise, the elastic is too loose and needs to be resewn shorter. For guidance on sewing the ribbons themselves, see our ribbon sewing guide.